Rain Barrel Making Workshop
Supplies
55 gallon used barrel, 1” Heavy duty hose bibb, Lock nut, Zinc plated flat washer, 100% Silicone sealant
Tools
1/2” Drill bit
Wrench for lock nut
Locking Pliers or Pipe wrench for hose bibb
Instructions
1. Clean rain barrel and let dry completely.
2. Determine where hose bibb will be located on rain barrel and mark location.
3. Use the drill bit and drill the hole for the hose bibb.
4. Screw hose bibb into barrel as much as you can. Try not to over tighten.
5. Apply silicone sealant to one side of washer.
6. Get inside rain barrel and place washer over the hose bibb end so silicone forms seal against barrel.
7. Hand tighten lock nut on hose bibb end.
8. Use the wrench to tighten lock nut. Have your friend use the locking pliers or pipe wrench to hold the other side of hose bibb while you tighten lock nut.
9. Wait for silicone to dry before filling barrel.
Tips

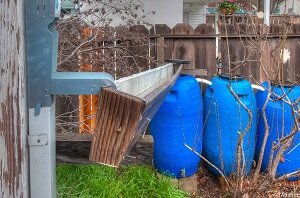
Gutters are helpful to divert the water from your roof to your tank or barrel.
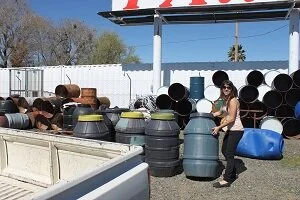
New rain barrels can run up to $150 new, but here in the north state, used food grade barrels can be found for much cheaper: About $25 at Surplus City in Oroville 530-534-99562, About $10 at The Olive Hut in Corning 530-824-5920.
A screen on top of the barrel can keep out large debris will clog your hose bib and funktify your water.
Avoid catching the first rain of the year because the water will carry with it the pollution and debris that has been gathering all summer and fall.
Once your barrel is full put the lid back on to prevent algae and mosquitoes.
A Save the Rain diverter attaches to your downspout and can be helpful to open and close depending on if you want to catch rain or let it go to the ground. You can also make your own for a lot less money.
For easiest use, attach a hose bib using the directions below.